
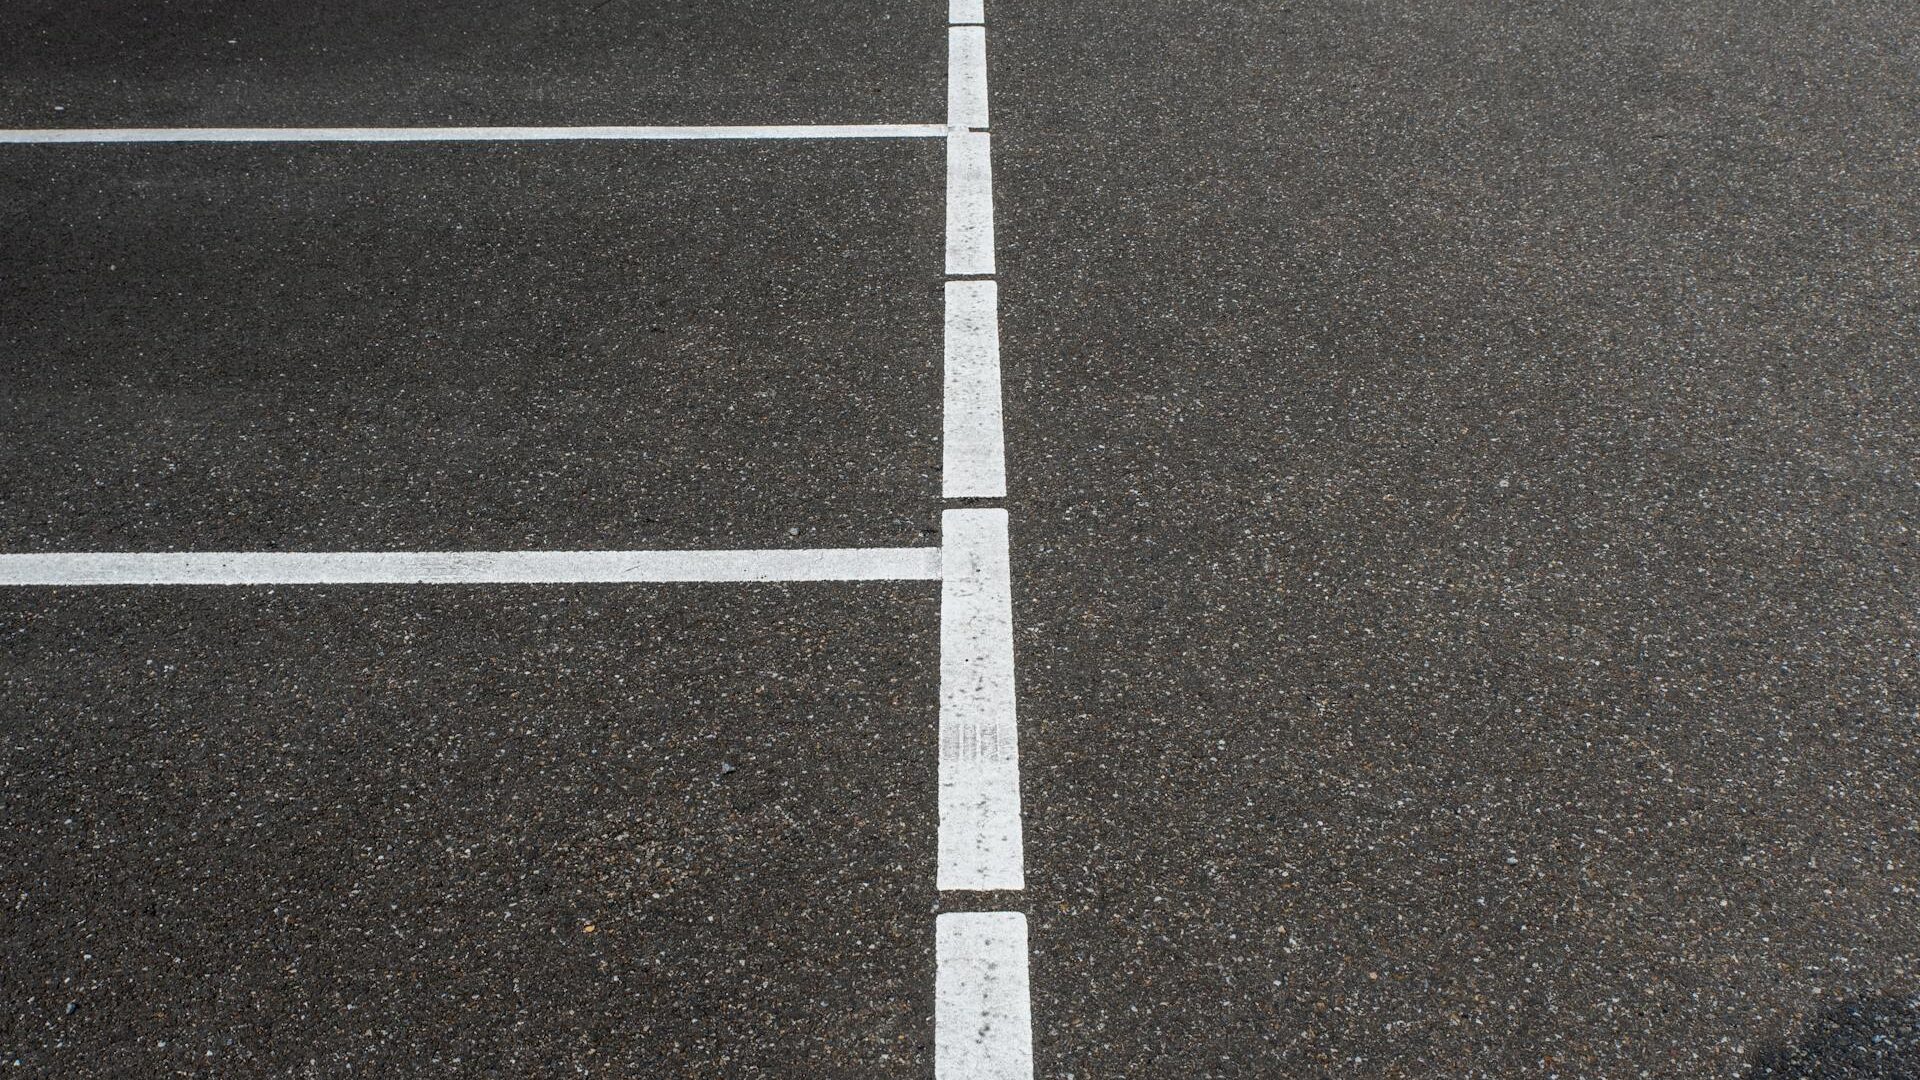
Parking Lot Striping Process — Layout, Surface Prep, and Application
A parking lot stripe is only as accurate as the layout work. Here is the process that produces straight lines, correct ADA stall counts, and MUTCD-compliant markings.
Step 1 — Site Walk and Layout Planning
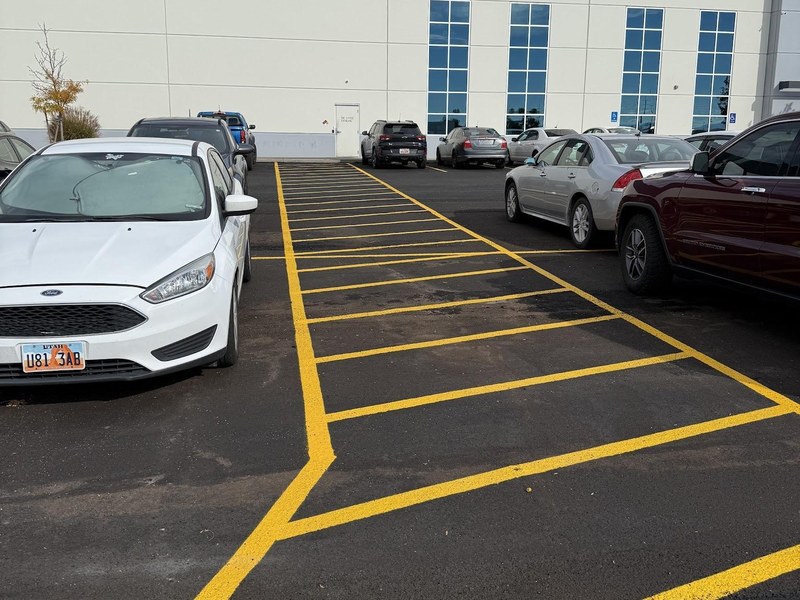
Before any marking, the project lead reviews the existing striping layout (photographed for reference) and confirms the stall count, ADA stall locations, fire lane routes, and any layout changes from the prior configuration. For new construction or re-layout projects, we work from the civil engineer's site plan and confirm all ADA stall counts per 2010 Standards Table 208.2. Any discrepancies between the plan and actual pavement geometry (lot corners, curb radii, drainage islands) are flagged to the owner before committing to a layout. Layout modifications to achieve ADA compliance—moving accessible stalls closer to the entrance, adding access aisles—are proposed with sketches and require owner approval before painting.
Step 2 — Surface Preparation
The pavement surface must be clean and dry before any marking application. We sweep or blow the lot clean of sand, debris, and loose material—traffic paint applied over contaminated pavement has poor adhesion. Pavement surface temperature is checked with a digital thermometer: minimum 50°F for waterborne paint, minimum 50°F for thermoplastic (thermoplastic requires a warmer surface for proper flow and bonding). Morning dew on the surface is a striping day-killer—we test surface moisture with a water droplet test (water beads on a dry surface; spreads on a wet or oil-contaminated surface). If the surface is wet from rain or dew, we wait for evaporation before proceeding.
Step 3 — Chalk Line and Stall Layout
For full re-stripe or new layouts, we chalk-snap baseline and perimeter lines before painting. The baseline is established off the drive aisle curb or building face—straight reference lines from which stall depths and widths are measured. We use a string line to confirm drive aisle perpendicularity and a tape measure to set stall widths. On irregular lots, we establish multiple control points to ensure row lines remain straight. Before committing to paint, we walk the layout with the chalk lines visible and confirm the stall count, accessible stall positions, and fire lane routes match the approved plan.
Step 4 — Paint or Thermoplastic Application
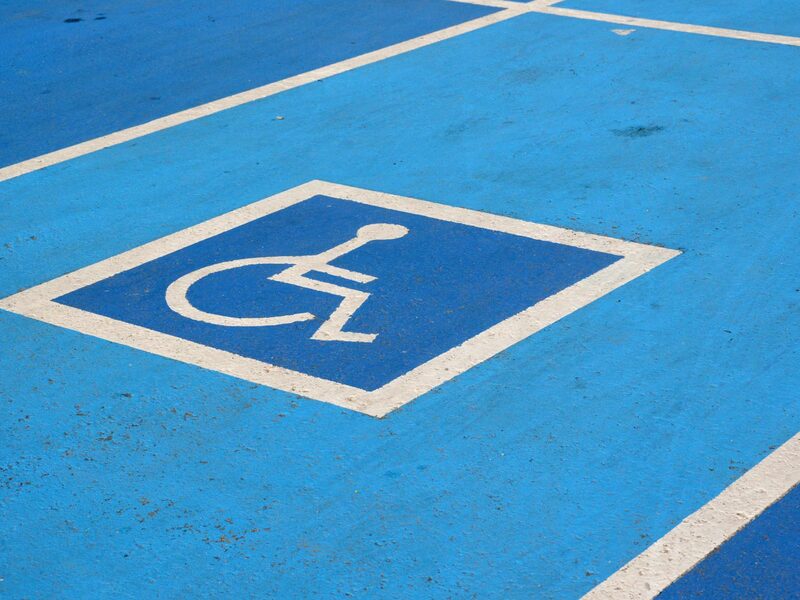
Traffic paint: airless striping machine applies paint at the specified DFT via a self-propelled striping machine with a 4-inch line guide. Glass beads are broadcast immediately after paint application from a drop-on bead dispenser mounted on the machine. Each pass is a single, continuous stroke—we do not stop and start mid-line. Thermoplastic: the thermoplastic extruder heats material to 400 to 430°F and applies it at a 90-mil DFT through a die plate. Drop-on glass beads are applied immediately from the machine's bead hopper. Thermoplastic is traffic-ready in 3 to 5 minutes after application—significantly faster than paint. ADA symbols and stencils: hand-applied using pre-cut template stencils for ISA symbols, stall width markers, "NO PARKING" text, and directional arrows. Template stencils are MUTCD-compliant dimensions. Thermoplastic hand-application uses a screed box or propane torch and screed for stencil work.
Recent Striping Projects
Common Questions
- How do you ensure stall lines are straight across an irregular lot?
- We use chalk snap lines anchored at both ends of each stall row and checked against a string line for bow. On long runs (over 150 feet), we add intermediate anchor points. After chalk layout, we visually inspect each row from 50 feet—any bow or deviation from straight is corrected in the chalk phase before paint is applied.
- Can you match the exact angle and width of our existing stalls?
- We photograph the existing layout and measure existing stall angles and widths before seal coat covers them. We replicate the layout exactly unless the existing layout has ADA non-compliance or dimension deficiencies, which we flag and recommend correcting.
- What temperature is too cold to stripe?
- Below 50°F ambient temperature, waterborne traffic paint does not dry properly—it remains tacky and tracks onto vehicle tires. Thermoplastic cools too quickly below 50°F and does not fully bond to the pavement. We do not stripe when ambient temperature is below 50°F or when temperatures are forecast to drop below 50°F within 2 hours of application.
Ready to Get Started?
Get a free, itemized estimate for your commercial striping project. We typically schedule site visits within 48 hours and deliver written quotes the next business day.
Get In Touch
Ready for a quote or have a question? We’re Utah-based, Utah-run, and we’ll come out to your property for a free on-site estimate.
Get A Free Quote